Leaks & burst pipes
Shower Leaking: Tray, Seal, Valve or Waste?
Published
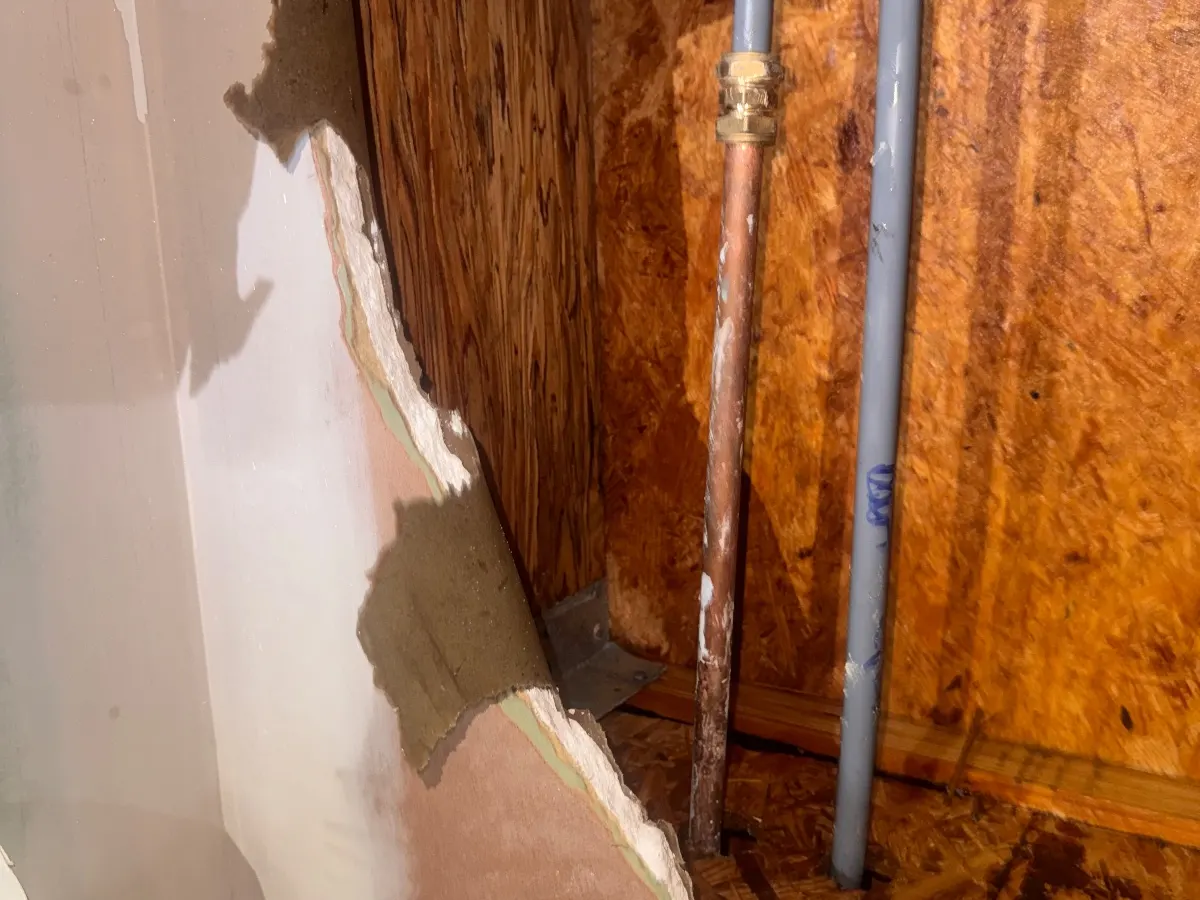
When a shower is leaking, the water is escaping through one of four routes: a failed silicone seal or grout line, a loose or cracked tray waste, the shower valve or its pipework behind the wall, or the door and screen seals. A simple three-stage water test tells you which, and whether you need to stop using the shower.
Where is the water turning up?
Before testing anything, note where the damage shows, because each route leaves a different trail. The position of a stain or drip narrows the list quickly.
- Drips or a stain on the ceiling directly below the tray: usually the tray waste or the seal along the tray edge
- A damp patch on the ceiling below the wall where the valve sits, or on the other side of that wall: suspect the valve or its supply pipes
- Water on the bathroom floor outside the enclosure: door seals, the screen, or spray escaping over a low tray
- Loose, cracked or darkened tiles, or grout that has turned black low down on the shower walls: water has been getting behind the tiles for a while
- Damp that appears even when nobody has used the shower: a pressurised supply pipe, not the waste or a seal
If water is coming through a ceiling near a light fitting, switch that lighting circuit off at the consumer unit, if you can reach it safely from a dry spot, and do not use the light until it has dried and been checked.
The three-stage test that finds the leak
Do this with a helper downstairs watching the ceiling, or with a dry sheet of kitchen roll taped where the drip appears. Give each stage at least five minutes.
Stage one tests the waste. Take the shower head off its bracket and hold it low, pointing straight at the plughole, so no water touches the walls, the tray edges or the screen. If the ceiling drips now, the leak is in the waste fitting or the trap under the tray. On a bath with a shower over it, the equivalent is covered in leak under the bath.
Stage two tests the seals. If the waste passed, direct the spray along the silicone line where the tray meets the tiles, then along the vertical corners, then at the screen and door. Water that shows below within minutes of hitting one area has found its way through that joint.
Stage three tests the valve and supply. Turn the shower off completely and dry everything. If a leak or a damp patch continues, or gets worse after the shower has run, look at the valve. The hot and cold pipes feeding the valve hold water under pressure whether or not the shower is on, so a leak on that side keeps going between showers. That is the one that cannot wait.
When the shower valve or its pipes are the source
Bar mixer valves on the wall surface have their joints on show. Check the two compression nuts where the hot and cold pipes enter the bar, and look under the valve for a drip line. A weep at the handle usually means a worn O-ring or a failing thermostatic cartridge rather than a pipe leak. A worn cartridge can also let water through to the outlet, which shows up as a shower head that keeps dripping after use, not as water escaping the enclosure.
Concealed valves are the awkward ones. The body sits inside the wall and the joints behind the tiles, so a leak there wets the wall cavity or the room below without showing in the shower. Some concealed valves have a removable panel behind them or in the next room. If yours does not, the choice is tile removal or cutting into the wall from the other side, and a plumber with a thermal camera or moisture meter can show you which is less destructive before anything is broken out.
Until it is fixed, isolate it. Many valves have small isolation valves on the hot and cold inlets, behind the cover plate or under the bar; a quarter turn with a flat screwdriver closes them. If there are none, turn the water off at the main stopcock when the shower is not in use.
An electric shower that is leaking from the unit itself needs its pull cord or isolator switch turned off, and its circuit switched off at the consumer unit from a dry floor, before you touch it. Water and a live high-current circuit is the real danger here, not the flood.
Tray, waste and seal leaks: what fixes them
Silicone that has come away, gone mouldy or cracked is the most common cause and the cheapest to fix. The old bead has to be cut out completely and the joint cleaned and left bone dry before new sanitary silicone goes on; running a fresh bead over the old one traps water behind it. Put weight in the tray, such as bags of sand or filled containers, before you seal and leave it there while the silicone cures so the tray sits at its loaded height, otherwise the seal can split the first time someone stands in it.
Tray wastes leak at the rubber seal under the tray, at the trap joints or where the trap meets the waste pipe. If there is access from below or through a panel on the side of the tray, the plumber can re-seat or replace the waste. If the tray is fixed down with no access, it may have to be lifted, which means cutting the seal and sometimes the bottom row of tiles. A cracked tray, often from a stone resin tray laid on an uneven base, is a replacement.
Enclosure leaks are usually a door seal strip that has hardened or split, or a screen fitted with its drainage holes sealed over. Replacement seal strips are sold by the profile for most enclosures and are a DIY job.
Can you keep using a leaking shower?
If the waste or a seal is the cause and the drip only appears during a shower, you can switch to the bath or a quick strip wash for a day or two without much harm. Every use still soaks the floor void, so do not leave it for weeks: wet joists and plasterboard ceilings are what turn a small repair into a big one. A ceiling that is bulging or sagging must be dealt with now; see what to do about a ceiling leak below a bathroom.
If the valve or its supply is leaking, do not keep using it and do not leave the pipes under pressure. Isolate it as above. A leak on a pressurised pipe does not stop between showers and can run all night.
What a plumber does and what it typically costs
On a visit the engineer repeats the staged test with a moisture meter, then opens the smallest area that reaches the fault. Typical market ranges in London, as a guide rather than our price: stripping and resealing a tray and enclosure, around £80 to £180; replacing a tray waste where there is access, around £120 to £250; lifting and refitting a tray, from about £300 upwards before any retiling; a replacement thermostatic cartridge, often £30 to £200 for the part depending on the brand.
Our leak repairs visit starts with the £60 call-out at any hour, and the repair price is agreed with you on site before any work starts. If the drip has already reached the room below, emergency ceiling leak repair explains how the ceiling is made safe first.
Questions people ask
Why does my shower only leak when someone is in it?
Weight flexes the tray. A tray on an uneven or soft base moves slightly under a person and opens the silicone joint or strains the waste seal. The fix is resealing with the tray loaded, and sometimes re-bedding the tray.
Is a leaking shower head the same problem?
No. A head that drips after the shower is turned off is a worn valve washer or cartridge letting water past, not a leak out of the room. It wastes water but does no damage. See our guide to a leaking shower head.
Can I just put new silicone over the old?
It rarely lasts. New silicone does not bond to old silicone or to mould, and water already behind the old bead gets sealed in. Cut the old bead out, clean and dry the joint, then reseal.
Will home insurance pay for a leaking shower?
Many policies cover sudden escape of water but exclude damage from failed grout or sealant, which insurers treat as wear and tear. Take photos, find the source first and read the exclusions before claiming.