Leaks & burst pipes
Copper Water Pipe Leak Repair
Published
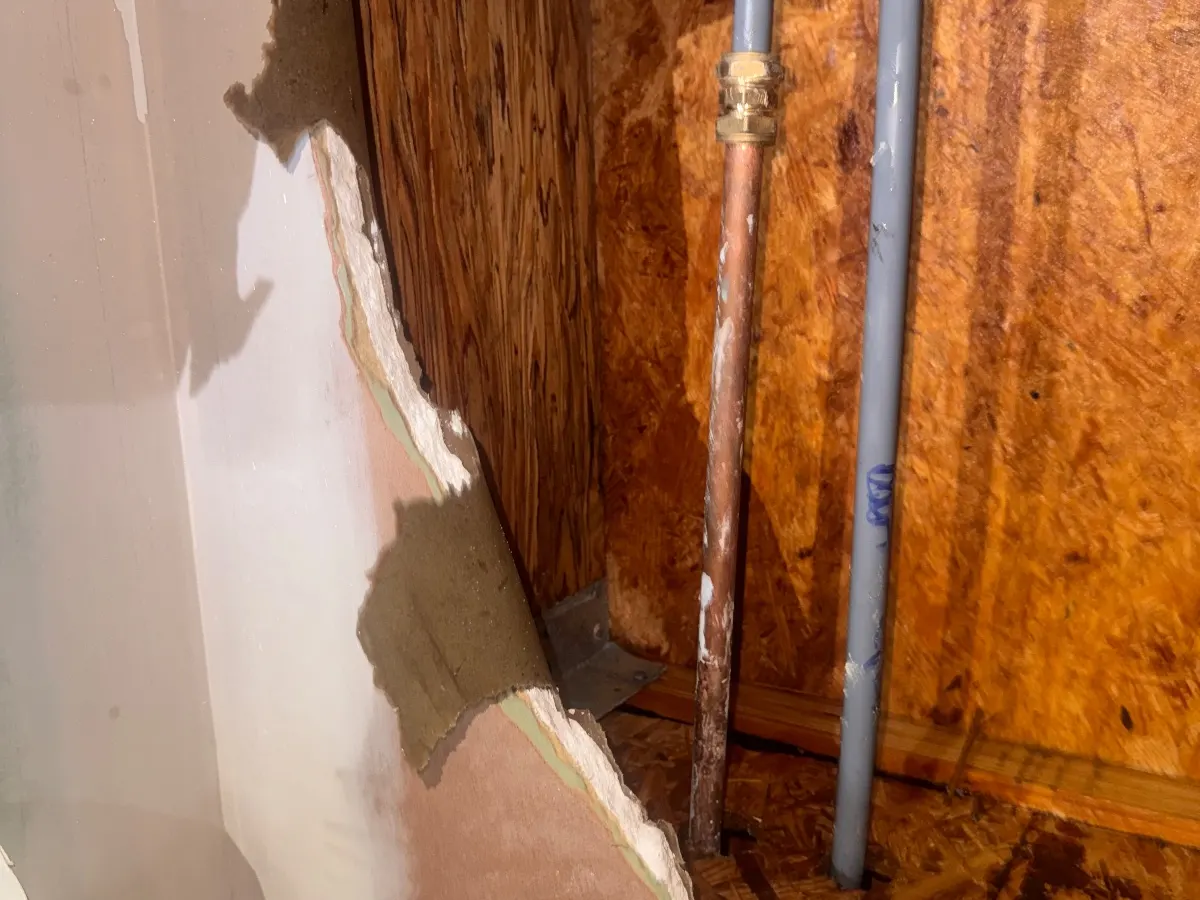
To repair a leaking copper water pipe, shut off and drain the supply, find the exact source, then cut out the damaged length and rejoin it with a slip coupling, compression fittings or soldered joints. A clamp or silicone tape will hold it overnight, but it is not the repair. A leaking joint is usually remade rather than patched.
Where copper pipes leak, and what the leak tells you
Copper is a long-lasting pipe material, so when a copper pipe starts leaking the cause usually decides the repair. Look closely at the pipe before anything else.
- A pinhole on a straight run, often with a small green or blue crust around it: pitting corrosion from the inside. It is most common on cold mains pipes and can mean the rest of the run is thinning too
- Green verdigris spreading from a soldered joint: a slow weep, or leftover flux eating the pipe from the outside. Too much flux left on a joint when it was made keeps corroding for years
- A pinhole just after an elbow, tee or pump outlet on a heating or hot water pipe: erosion corrosion, where water moving too fast wears the pipe wall away from the inside. It is typical of pumped circuits
- A split along the pipe, often in a loft, garage or outside wall: frost. Water froze and expanded inside it
- A clean hole near a skirting or floorboard: a nail or screw through the pipe, sometimes put there years ago
- Pitting on a pipe laid bare in a concrete floor or against cement: chemical attack. Copper in a solid floor should run in a duct or sleeve it can be withdrawn from, never bedded in the screed
Find the exact spot before you do anything else
Water runs along a pipe before it drips, so the drip is rarely where the leak is. Dry the whole length with kitchen roll, then wrap a clean dry sheet around the pipe every few inches and wait. The first sheet to go wet marks the leak. Work upwards and back towards the supply, and check any joint above the wet area first.
A tiny pinhole can spray a fine mist that wets a large area without an obvious drip. Run a dry finger slowly along the pipe; you will often feel it before you see it. If the pipe runs into a wall or under the floor and the leak is somewhere out of sight, stop there. Signs of a leak you cannot see and a leak inside a wall cover what to do next.
Once you know where it is, isolate it. A mains pipe is shut off at the stopcock, and many pipes under sinks and behind toilets have a small isolating valve with a screwdriver slot. A pipe fed from a loft tank keeps running after the stopcock is closed, so close the gate valve on the tank outlet or drain the tank through the bath taps. Heating pipes need the boiler switched off. Then open the lowest tap on that circuit to take the pressure off.
Holding it until a proper repair
For tonight, a pipe repair clamp is the most dependable hold on a copper pinhole or short split. It is a hinged band with a rubber pad, sized to the pipe, usually 15mm or 22mm, and it costs a few pounds from any builders’ merchant. Self-amalgamating silicone tape, stretched and wrapped tightly with each turn overlapping the last by half, also holds a pinhole at mains pressure for a while. Epoxy putty needs a completely dry pipe and time to cure. Temporary fixes for a leaking pipe goes through fitting each one.
None of them stop a leak on a joint reliably, and none should be boxed in. The Water Supply (Water Fittings) Regulations 1999 say no fitting that consists of a joint may be a concealed fitting, and a clamp is a joint in all but name. Leave it where you can see it and get the pipe properly repaired.
Never use a blowlamp on a pipe that is still wet or under pressure, and keep flame away from timber, insulation and cables. If the leak is dripping onto a light fitting or socket, turn the power off at the consumer unit first, if you can get to it without stepping through water.
How a copper pipe leak is repaired properly
A permanent repair replaces the damaged piece rather than covering it. The pipe is cut with a pipe slice, which leaves a square, clean end, then deburred and cleaned back to bright copper. The cut is made a little way either side of a pinhole, back to sound pipe, because corrosion is rarely limited to one spot. How the new piece goes in depends on space, heat and access.
- Slip coupling: a straight coupling with no internal stop, so it slides fully onto one pipe end and back over the gap. Used where the pipe is fixed and cannot be sprung apart to fit a new length
- Compression fittings: a brass nut and olive that grip the pipe as the nut is tightened. No heat, so good near timber or in a cupboard, but the joint must stay accessible
- Soldered fittings, either end-feed or solder-ring: the neatest and slimmest joint, but the pipe must be dry inside or it never gets hot enough to take the solder. Only lead-free solder is used on drinking-water pipework
- Push-fit connectors, such as JG Speedfit or Hep2O: quick and heat-free on clean, deburred copper, but bulkier and not suited to every location
- Press fittings: copper or stainless fittings crimped with a battery press tool. No heat, a wet pipe is less of a problem, and the joint is permanent
When to replace the whole run rather than repair it
A single pinhole caused by a nail is a one-off. Pinhole pitting is different. Once one pinhole appears on a cold mains run, others often follow on the same length, because the wall of the pipe has been thinning along its whole length. If an engineer finds a second pinhole, or the pipe shows dark pitting and green spots along it, replacing that run is usually cheaper than repeat call-outs.
The same applies to a heating pipe with erosion at every bend, or a joint that has been remade more than once. Replacement copper is usually 15mm or 22mm half-hard tube to BS EN 1057, the standard grade for household water and heating. Some older houses have imperial pipe, which needs matching fittings or adaptors to join it to metric.
Any fitting that ends up concealed, such as on a supply pipe below ground or where a pipe passes through a wall, must be gunmetal or dezincification-resistant brass under the same regulations. DZR brass is usually stamped DZR or CR. That stops ordinary brass losing its zinc and crumbling where nobody can see it.
What a copper pipe leak repair costs
Parts are cheap: a slip coupling or pair of compression fittings and a short length of 15mm copper cost a few pounds. Most of the cost is labour, access and the time of day. As a typical London market range, an accessible single repair under a sink or in an airing cupboard is often somewhere around £150 to £450. A leak under floorboards, inside a wall or in a ceiling void costs more, because boards have to come up or plaster has to be cut, and the making good afterwards is often a separate job.
Our leak repair service covers finding and fixing leaks on copper pipework, from a pinhole under a sink to a split in a loft. The £60 call-out gets an engineer to you at any hour, and the repair price is agreed with you on site before any work starts. For a pipe that has burst and is pouring water, emergency burst pipe repair is the faster route, and leaking pipework joints explains how each type of joint is remade.
Questions people ask
Can you repair a copper pipe without soldering?
Yes. A slip coupling or compression fittings, push-fit connectors or press fittings all join copper without a flame. Whichever is used, the regulations do not allow a joint to be concealed, so it must stay reachable behind a removable panel or access hatch.
Why does my copper pipe keep getting pinholes?
Repeated pinholes on the same run are usually pitting corrosion from the inside, which thins the pipe along its length. Excess flux from old joints and fast-flowing water on pumped circuits cause similar damage. Once a second pinhole appears, replacing that run is usually the better repair.
Will leak sealer or epoxy fix a copper pipe permanently?
No. Epoxy putty, tape and clamps are only temporary holds, and epoxy needs a dry, depressurised pipe to cure. A pinhole is a sign the pipe wall has thinned, so the damaged section needs cutting out and replacing.
Is a green stain on a copper pipe a leak?
Green or blue crust at a joint usually means it has been weeping slowly, or that flux was left on the joint when it was made. Dry it, wrap it in tissue and check it after a few hours. A wet tissue means the joint needs remaking.