Toilets, taps & fixtures
How to Fix a Leaking Toilet: The Five Common Faults
Published
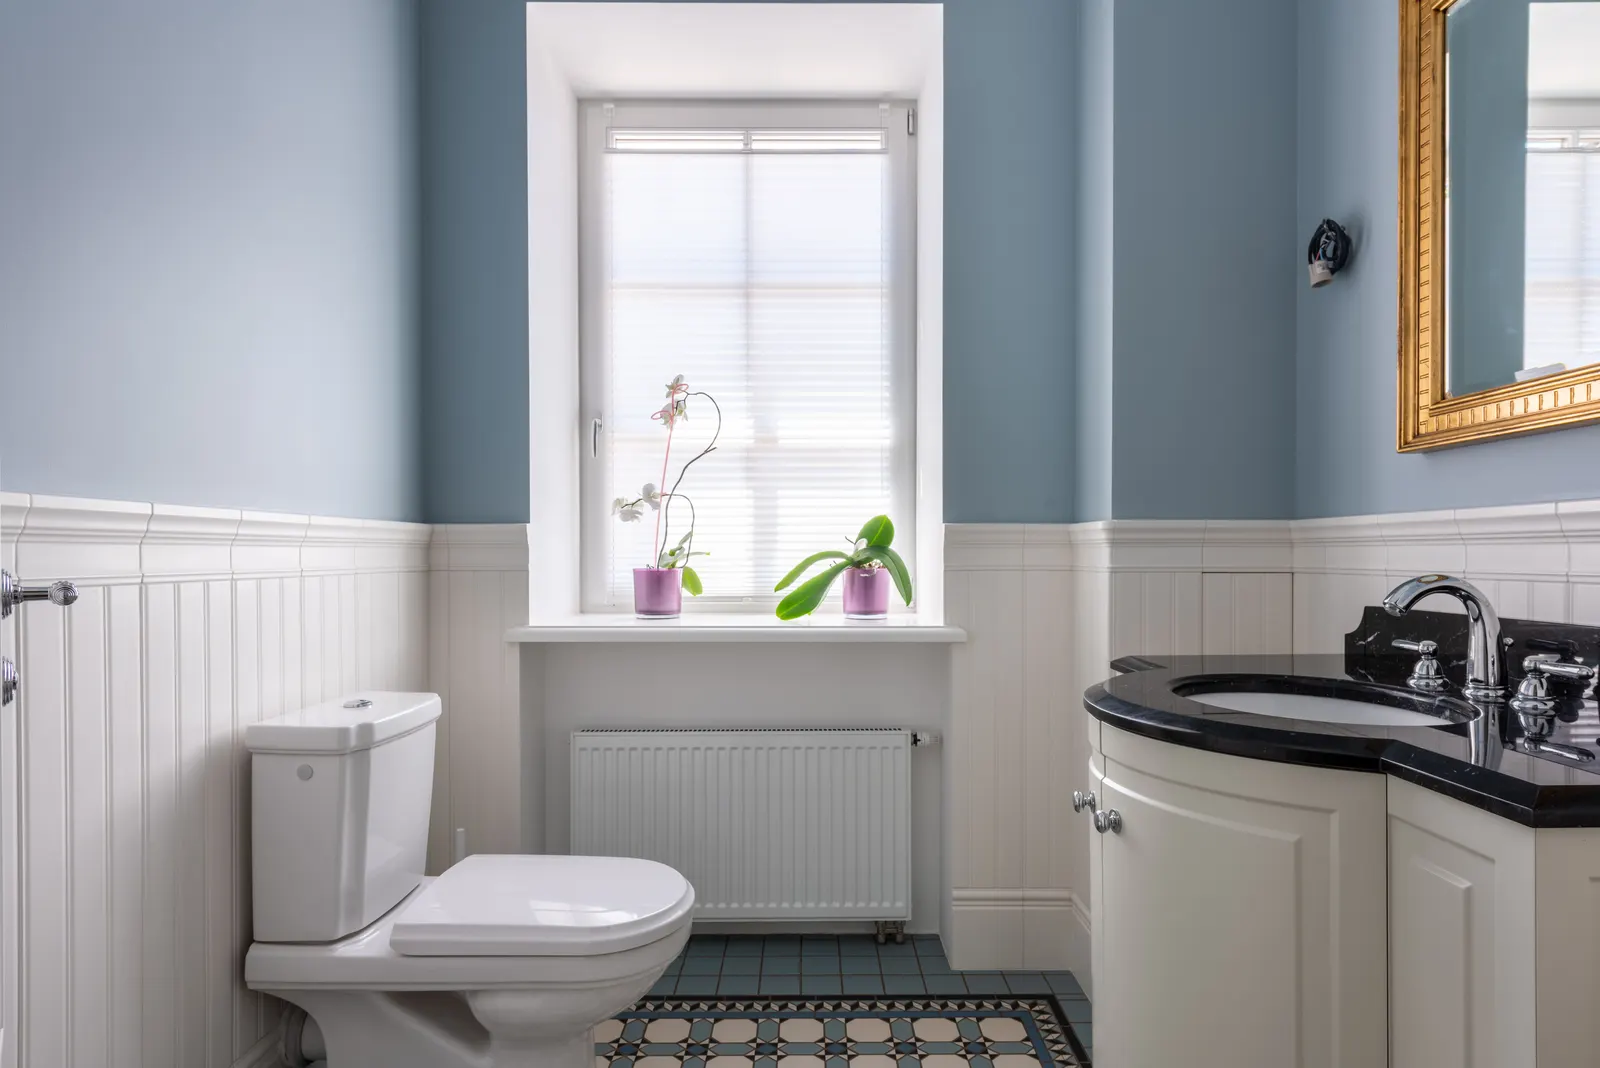
To fix a leaking toilet, first find which of five parts has failed: the flush valve seal, the fill valve, the feed connection, the cistern-to-pan seal or the pan connector. Where the water appears and whether it needs a flush tells you which. Turn off the isolation valve, then replace that one part.
First, stop the leak getting worse
Since the 1999 water fittings regulations, a toilet cistern should have a small isolation valve (a servicing valve) on its feed pipe. It is a short brass or chrome fitting with a slot across the middle, usually just below or behind the cistern. Turn the slot a quarter turn with a flat screwdriver so it sits across the pipe, and the cistern stops refilling. You can still flush once, and refill by opening the valve briefly.
If there is no isolation valve, or it will not move, turn the water off at the main stopcock. Our guide to how to turn off a stopcock shows where to look. In some older houses the toilet is fed from the cold water tank in the loft, and the stopcock will not stop it; turn off the valve on the pipe leaving the tank instead. Then mop up, lay dry kitchen roll around the base of the toilet and under the cistern, and you are ready to find the fault.
If water is coming through the ceiling below, or the leak is dirty water from behind the pan, stop using the toilet until it is fixed. Waste water on a floor needs disinfecting, not just drying.
Which of the five faults do you have?
Two questions narrow it down: where does the water end up, and does it happen all the time or only when you flush? Match what you see to the list.
- Water trickles into the bowl all the time, or the cistern refills on its own every so often: the flush valve seal is letting water past (on a lever toilet with a siphon, check the water level, as the fill valve is usually overfilling).
- Water runs into the overflow tube or drips from a pipe outside: the fill valve is not shutting off.
- The floor is wet under the cistern even when nobody has flushed: the feed connection, the isolation valve or the fill valve tail washer.
- Water appears between the cistern and the pan, or drips from under the pan shelf, only during a flush: the cistern-to-pan seal or its bolt washers.
- Dirty water appears at the back of the pan at floor level after a flush: the pan connector to the soil pipe, or a crack in the pan.
Fault 1 and 2: water running inside the cistern
These two leak into the toilet rather than onto the floor, but they usually waste far more water than a drip on the floor. To tell them apart, take the cistern lid off and look at the water level. If it sits well below the overflow and water still trickles into the bowl, the flush valve seal is at fault. If the level is right up at the overflow, the fill valve is not closing.
A leaking flush valve on a push-button cistern is usually fixed by replacing its rubber seal. On most modern valves the tall centre section twists or unclips off its base, so you can swap the seal washer without lifting the cistern. Take the old seal to a plumbers' merchant, as Siamp, Fluidmaster, Wirquin and others each use their own size. A seal typically costs a few pounds. On lever toilets with a siphon, a trickle into the bowl usually means the fill valve is overfilling, not the siphon; a torn siphon diaphragm gives a weak flush instead. Toilet leaking into the bowl goes through both.
A fill valve that will not close is either set too high or worn. Lift the float by hand: if the water stops, lower the float. If it keeps running, clean or replace the valve. Toilet refill valve leaking covers the adjustment for each common valve type.
Fault 3: the feed pipe and isolation valve
A leak that shows with the toilet unused almost always comes from the pipework feeding the cistern. Dry the pipe with a cloth and run a dry finger along it from the wall up to the cistern. The first joint that wets your finger is the leak.
At a compression nut, a slight nip with a spanner, no more than a quarter turn while holding the fitting steady with a second spanner, often stops a weep. Where a flexible hose connects to the fill valve tail under the cistern, the leak is usually the fibre or rubber washer inside the hose nut, which is replaced with the water off. If the isolation valve is weeping from its spindle, that is covered in isolation valve leaking, and a valve that old is usually worth replacing.
Take care with plastic fill valve tails. The large plastic backnut that holds the valve to the cistern only needs to be hand tight plus a little. Overtightening it with grips can crack the thread or the cistern.
Fault 4 and 5: leaks under the cistern and behind the pan
On a close-coupled toilet the cistern sits on the pan and water passes through a large foam or rubber washer, often called the doughnut. Two bolts with their own washers hold the cistern down. When any of these fail, clean water drips from under the pan shelf during each flush. Tightening the bolts by a quarter turn each, evenly, sometimes stops a small leak. The proper repair is to lift the cistern off and fit a new doughnut and bolt kit, which usually costs under £20 at a merchant. Our toilet seal leaking guide covers that seal on its own.
Water at the back of the pan at floor level, especially if it smells of sewage, is the pan connector: the plastic or rubber sleeve joining the pan outlet to the soil pipe. The part is cheap but the pan usually has to come forward to fit it, and on a close-coupled toilet the cistern comes off first. See toilet pan connector leaking. A hairline crack in the pan that stays wet after drying cannot be sealed reliably; the pan needs replacing.
Whatever you do, do not run a bead of silicone round the base to stop water appearing. It hides the leak and lets water soak under the floor and into the ceiling below.
When to stop and call someone
Faults 1, 2 and 3 are within reach of most people with a screwdriver, a spanner and a spare half hour. Faults 4 and 5 involve lifting a heavy china cistern, working near the soil pipe and getting everything back level and watertight. A cracked cistern or pan from an overtightened bolt is the classic way a small leak becomes a flooded bathroom.
Call an engineer if water is reaching the room below, if the leak is from the pan connector and the pan is still in use, if the isolation valve will not turn, or if the toilet is the only one in the house and you cannot afford to get it wrong tonight.
An engineer will isolate the supply, identify the failed part, and carry common seals, valves and connectors to fix most leaks in one visit. Across the London market, replacing a flush valve seal, fill valve or doughnut seal typically costs between £80 and £180 including parts, depending on access and whether the cistern is concealed behind a panel. With us, the visit is a £60 call-out at any hour, and the repair price is agreed with you on site before any work starts. Book a toilet repair and say which of the five symptoms you have.
Questions people ask
How do I stop my toilet from leaking right now?
Turn the isolation valve on the cistern feed pipe a quarter turn with a flat screwdriver so the slot sits across the pipe. That stops the cistern refilling and stops most leaks. If there is no valve, turn off the main stopcock.
Can a leaking toilet cause damage if I leave it?
Yes. A slow leak around the base soaks the floor, rots timber boards and stains the ceiling below, often long before anything shows in the bathroom. A leak into the bowl wastes water and costs money on a meter. Neither gets better on its own.
Why does my toilet leak only when I flush?
A leak that appears only on a flush comes from a part that carries water only then: the seal between cistern and pan, the pan connector at the back, or a crack above the normal water line in the pan.
Do I need to replace the whole toilet?
Rarely. Seals, valves and connectors are all replaceable parts. Only a cracked pan or cistern needs replacing, and even then the other half can often be kept if a matching part is available.