Toilets, taps & fixtures
How to Repair a Leaking Toilet Cistern
Published
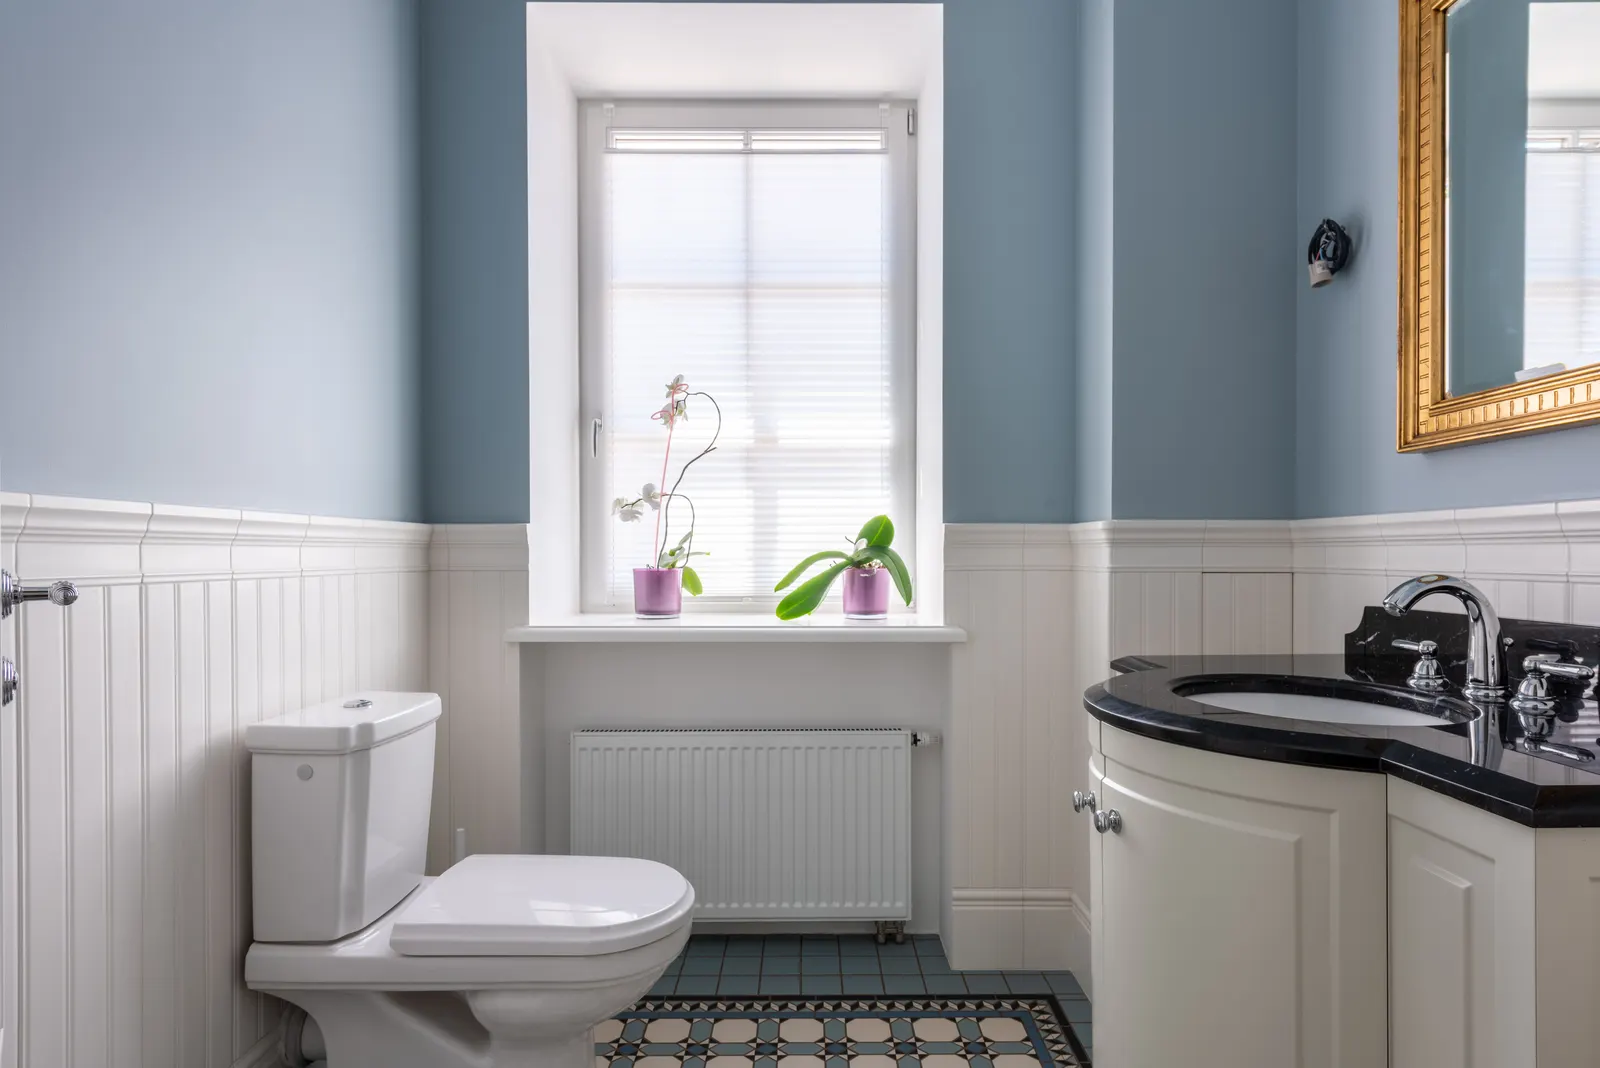
To repair a leaking toilet cistern, turn off the isolation valve, flush to empty it and sponge out the rest. Then replace whichever seal has failed: the flush valve washer for leaks into the bowl, the fill valve tail washer for drips from the inlet, or the bolt washers for drips underneath. Most parts cost under £15.
Before you start: what you need
A cistern repair is mostly patience and the right seal. Gather everything before the water goes off, because a toilet out of use for an afternoon while you drive to a merchant is the usual frustration.
- A flat screwdriver for the isolation valve
- A large sponge, an old towel and a bucket
- An adjustable spanner, or a pair of spanners for compression nuts
- A torch, because the underside of a cistern is dark
- The replacement part, matched to the old one. Photograph the valve and note any brand name moulded on it
Do not use grips on plastic nuts or on the bolts that hold china together. Hand tight plus a small turn is enough. More than that cracks the cistern.
Find exactly where the cistern is leaking
Repairing the wrong seal is the most common wasted afternoon. Dry the cistern outside, the pipework and the floor, then check in this order.
Put a few drops of food colouring in the cistern and do not flush for half an hour. Coloured water in the bowl means the flush valve seal is leaking into the pan. Coloured water on the pan shelf or the floor means the bolts or the seal between cistern and pan, a common source of water pooling round the toilet base. Clean water around the inlet at the side or bottom of the cistern with the level steady means the fill valve connection. Water rising to the overflow means the fill valve is not shutting off, which is a valve fault rather than a leak and is covered in toilet inlet valve leaking.
Finally look at the cistern body. A hairline crack in the china, often from a bolt tightened too hard, shows as a fine line that stays damp after drying. No sealant holds on a cracked cistern, so the only repair is a replacement cistern.
Draining the cistern safely
Turn the isolation valve on the feed pipe a quarter turn so the slot sits across the pipe. If there is no isolation valve, turn off the main stopcock and flush once to check the cistern does not refill. If it still refills, the toilet is probably fed from the cold water tank in the loft, and the valve on the pipe leaving the tank is the one to close. Where to find your stopcock helps if you have never had to use it.
Flush the toilet and hold the button or handle down so as much water as possible drains. Sponge the rest into the bucket until the cistern is dry, especially if you are about to undo anything underneath. Some water always stays below the flush valve after a flush, often a litre or more, and you do not want it on the floor.
Repair 1: water leaking into the bowl
On a push-button toilet the flush valve sits in the middle of the cistern with a cable or rod to the button. On most modern valves the tall middle section, the part that lifts when you flush, twists anticlockwise or unclips from a base that stays bolted in. Disconnect the button cable if needed, lift the section out and you will see a flat rubber seal on its bottom. That seal is what fails: it hardens, picks up scale or gets a grain of grit under it.
First clean the seal and its seat with a cloth. If the rubber is still soft and unmarked, a clean may be enough. If it is hard, cracked or has a ring pressed into it, fit a new one of the same size. Refit the valve, reconnect the button, open the isolation valve and test with food colouring again.
On an older lever toilet, a siphon cannot leak into the bowl at rest, so water reaching it non-stop usually means the fill valve is overfilling into an internal overflow. Its plastic diaphragm does wear, but that shows as a lever needing several pulls to flush, not as a leak into the bowl. Replacing the diaphragm means taking the siphon out, which on a close-coupled toilet means lifting the cistern off, and on a low level toilet with a flush pipe means draining the cistern and disconnecting the pipe. Many people replace the whole siphon with a new one, or convert to a modern flush valve at the same time. Full details are in toilet leaking into bowl.
Repair 2: drips from the inlet or the bolts
A drip where the water comes in is the fill valve tail. The valve passes through a hole in the cistern and is held by a large plastic backnut, with a washer inside the cistern and sometimes another outside. The flexible hose or copper pipe connects below. Check the hose nut first: its internal washer is the most common failure and costs pennies. If the leak is at the backnut, undo the hose, loosen the backnut, fit new washers, reseat the valve upright and tighten by hand.
Drips from under the cistern onto the pan shelf come from the two cistern bolts or the large doughnut seal between cistern and pan. Each bolt has a rubber washer inside the cistern, and the nuts are underneath. A weep at a bolt can sometimes be stopped with a quarter turn on each nut, evenly on both sides. If it keeps leaking, lift the cistern off: undo the feed, undo both bolt nuts, lift the cistern straight up and turn it over on a towel. Replace the doughnut and bolt kit together, usually £5 to £15 at a plumbers' merchant, then refit and tighten alternately so the cistern sits level. More on that seal in toilet seal leaking.
When a cistern repair is not a DIY job
A concealed cistern, hidden in a wall or behind a boxed-in unit with only a flush plate showing, changes everything. Access is through the flush plate opening, and the valve and seals have to come out through a small hole. Parts are specific to the frame maker, and forcing them breaks clips that are not sold separately. If you have a wall-hung toilet or a vanity unit with no removable panel, get it looked at rather than prising at the plate.
Stop and call an engineer if the cistern is cracked, if water is coming through the ceiling below, if the isolation valve will not turn or leaks when you touch it, or if the bolts are rusted solid. An engineer carries the common seals and valves, fits them with the right torque on china, and tests with several flushes before leaving. Across the London market, a cistern seal or valve replacement typically costs between £80 and £160 including parts, with concealed cisterns at the upper end or beyond. With us, the visit is a £60 call-out at any hour, and the repair price is agreed with you on site before any work starts. Book a toilet repair if the cistern is still leaking.
Questions people ask
Can I repair a toilet cistern without turning the water off?
Not safely. Even a seal change inside the cistern needs it empty, and the fill valve will refill it as soon as you flush. Turn the isolation valve on the feed pipe off first; it takes seconds with a flat screwdriver.
Is it worth fixing an old cistern or should I replace it?
Fixing is usually worth it. Seals, valves and siphons are replaceable on almost every cistern. Replace the cistern only if the china is cracked or the parts are no longer made, and check the replacement matches your pan.
Why is my cistern still leaking after a new seal?
Either the seal was the wrong size, it is sitting on scale or grit, or the leak was somewhere else. Repeat the food colouring test. A valve that has been replaced but still lets water past can also have a scratched seat on its base.
Can I use sealant on a leaking cistern?
No. The seals in a cistern are compression washers. Sealant does not bond reliably to wet, scaled china, it gives way as the cistern flexes on its bolts, and it makes the next proper repair harder. Replace the washer instead.